This year we decided to go as Tim Burton's characters. I went as Emily from Corpse Bride and KH went as Jack Skellington from The Nightmare Before Christmas (aka "The Pumpkin King"). My costume was pretty simple to do but KH's was a challenge (as usual).
Jack Skellington The Nightmare Before Christmas Costume
I recommended that he paint his face to look like Jack's but he insisted that it will not do Jack's round head justice. So we went to hunt for something round to mount on top of his head. It had to be big and spherical but also light enough to sit on his head comfortably all night. We settled on a beach ball ($3.90) and spray painted it white ($3.50). Creating Jack's head was the easy part. After the paint dried, we just cut out shapes from a sheet of black paper to make Jack's eyes, nostrils and mouth. Figuring out how to mount Jack's head on top of KH's head was the challenge. Initially, we tried gluing a headband to the base of the beach ball but it didn't really hold up as well as we'd had hoped. In the end, we had to use a lot of masking tape to hold it in place.
*Tip: On hindsight, we probably should have done the spray painting on a less windy night because the ball did topple over a few times causing us to have to do over some parts. Also, we should have gotten a headband with more teeth so it would have held on better to the head.
Next, he had to "pimp" his suit with stripes which was such a pain to do because Jack's suit had so many strips... I think it took him about 2-3 hours. KH used about 2 rolls of white silk ribbons ($1.90/roll), 1 cm in width, to create the pin-stripes on his black blazer. The process involved cutting ribbons to fit the silhouette of the blazer and painstakingly using double-sided tape to hold them down (the double-sided tape came off nicely at the end of the night which was great). After he was done with the blazer, he was too tired to finish his pants but he wore them nonetheless... haha...
*Tip: I would recommend widening the spaces in between the ribbons so that you won't have to do so many pin-stripes.
Emily Corpse Bride Costume
My costume was relatively simpler. Unlike KH, I didn't really have much construction to do. The only prop I needed was a 2-metre long white laced cloth ($5.50/metre) which I got from Katong Shopping Centre. I used about 1.3 meters of the lace to extend my skirt and make it look like it had a train. The remaining cloth I used as a veil. In order to secure the veil to my hair, I threaded a string through the lace and used bobby pins to hold it down. The most challenging part of the costume was the full body and face painting. Thankfully, I had Promise Phan's makeup tutorial to reference HERE. It took me about an hour to do it (paint drying time included). I used 1 tube of white and 1/10 tube of blue paint ($3.50/tube).
*Tip: I am not sure why but after my paint dried, the blue looked darker than it initially was when I first mixed it. Hence, I ended up looking a bit too blue and maybe too much like a smurf? I would recommend testing it on your hands first to see what shade your paint will look like after it dries.
.
.
.
.
.
.
Now Let's compare the before and after shots to see if we did Tim Burton's characters justice?
I think we did pretty ok for a first attempt?
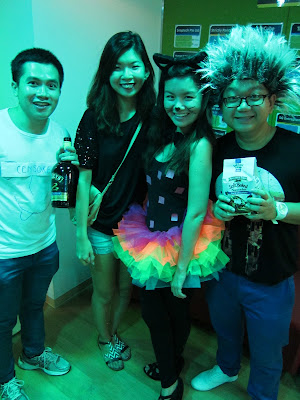
We headed down to Avalon at Marin Bay Sands to meet our friends. It was our frist time there and the club had a great 360-view overlooking Marina Bay :) Everyone was decked out in their Halloween gear... well almost everyone (except Jacky the "Baby Slayer")... haha... Cassandra kidnapped some demon babies dolls from Zouk and Jacky tried to pass them off as his costume. Anyways, enough said... here are some shots from the night...
 |
| Egyptian Queen Cassandra :) |
 |
| Jacky the Baby Slayer (Left) |
 |
| My favorite costume!!! |
 |
| White boyz |
 |
| Best dressed won a trip to LA (Right) |
 |
| Bane Vs Batman |
 |
| Over looking Marina Bay |
 |
| Avalon surrounded by water |


